


 by Caroline Lange •
May 9, 2016
by Caroline Lange •
May 9, 2016 And simply: If you’re looking to make more of your food from scratch, yogurt is a very easy and rewarding place to begin.

best batch of yogurt yet! boil milk, let cool to baby-bath warm, stir in yogurt, keep cozy 8 hours. refrigerate after that.
- It’s less expensive. A gallon of milk will make just slightly less than a gallon of yogurt for about half of what you'd buy the same amount of yogurt for. If you strain your yogurt, you'll get a bit less yogurt—but you’ll also get a whole lot of electric-looking white-yellow whey, which you can either drink au natural, like I do, or use in any number of other ways (including adding it to smoothies, cocktails, breads, and brines). Two products for the price of one!
- You control everything, from the milk itself to how tangy or mild and thick or loose your finished product is.
- You don’t need any special equipment—no yogurt machine or thermometer or even recipe—to make it.
But you will need:
- A heavy pot with a lid
- A blanket
- Whole milk
- Pre-made yogurt (either your own or a store brand you like). This is your “culture.”
- A vessel for your finished yogurt, like quart jars (or individual serving-size jars)
- Cheesecloth (optional)
Here's how to do it:
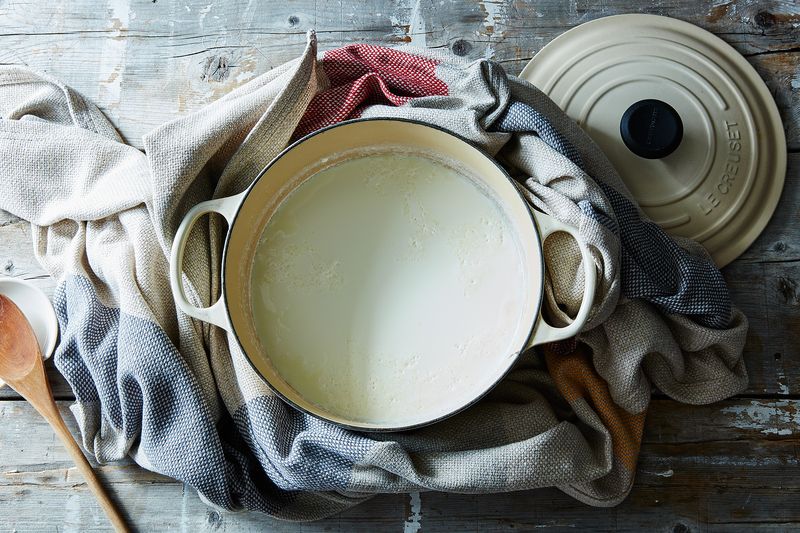
1. Heat the milk, cool the milk.
For sake of explanation, let’s say you’re using half a gallon of whole milk. (This is easily halved or tripled or doctored to whatever amount of yogurt you want to make.) Why whole? The more fat in your milk, the creamier your yogurt will be, and the more it will set up. Homa, of White Moustache, advises that using organic milk, which typically has to be ultra-pasteurized, may not set up well. Others (including myself) haven’t had a problem with it. Up to you! If you can get your hands on raw milk (lucky dog!), by all means, use it.Pour the half-gallon of milk into a heavy pot set over medium heat and slowly bring the milk up to a boil. Don’t be shy here; it needs to be a full rolling boil. Doing this kills any bacteria that could contend with the bacteria in your yogurt starter, but since most milk sold commercially is already pasteurized, you likely don’t have to worry about any bacteria. But heating the milk does change the structure of the milk protein casein, which is what will give you a creamy yogurt.
When the milk comes to a boil, remove the pot from the heat and let it cool. You’re looking for it to be baby-bath warm, and you’ll know you’ve hit the right temp when you can put your pinky finger in the warm milk and leave it there comfortably for 3 seconds.
More: Homa's tips and best practices for making yogurt at home.
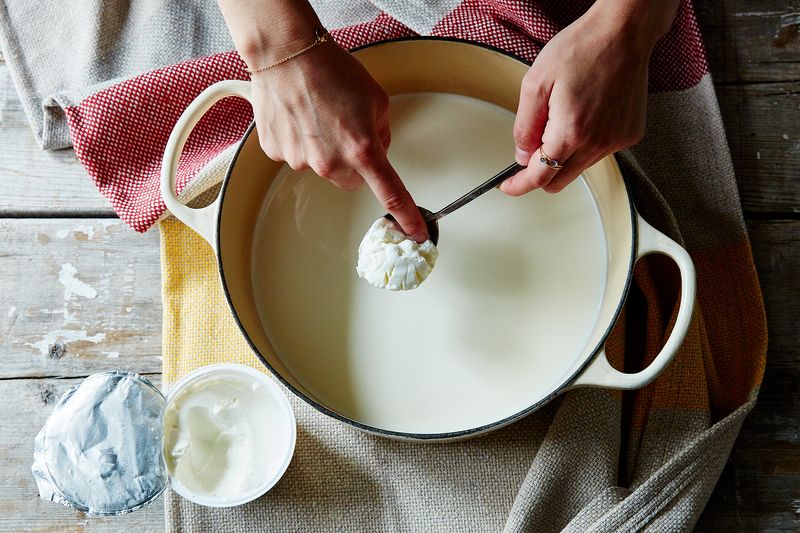
2. Add the starter.
That’s your yogurt sample, either from your previous batch of yogurt or from a store-bought yogurt. (Homa recommends Fage.) Add two tablespoons directly to your pot of milk, stir gently (or not at all, as Alana Chernila recommends as a way of preventing grainy-textured yogurt), then put the lid on your pot.This is also a good time to add a splash of vanilla extract for a vanilla-flavored yogurt. Alana has also written about letting a vanilla bean steep in this warm milk while it sits.
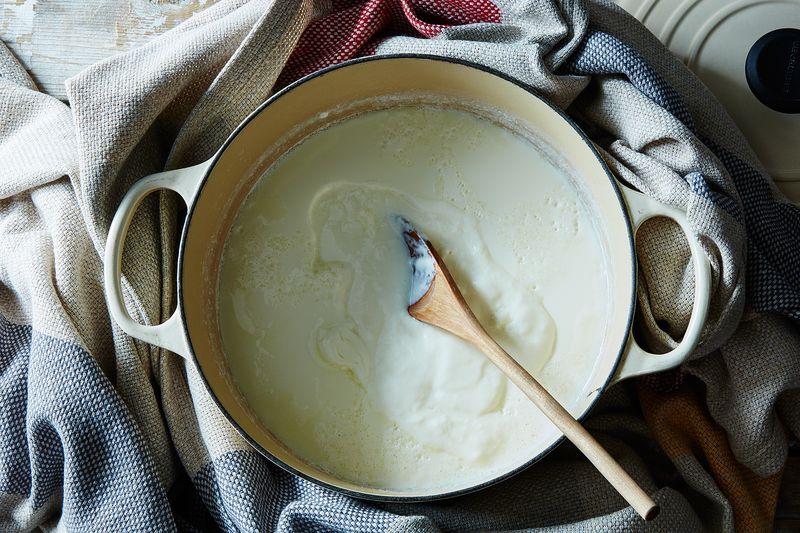
3. Bundle up!
Put your yogurt in a warm place for between 4 hours and 12 hours (overnight). The longer you let it sit out, the tangier it will be; I like a moderate 8-hour rest.The yogurt needs to stay really warm during this rest; otherwise, the bacteria you added via the yogurt culture won’t multiply and your yogurt won’t set up! Folks like to do this in a couple of ways: Some will place the pot in the oven with the oven light turned on; others line a cooler with a towel and set the pot inside.
I have neither an oven with a working light nor a cooler, so my preferred tactic is to wrap my pot in a blanket (spreading the blanket on my kitchen table, setting the pot in the middle, and bundling the blanket up around the pot). Then I put the bundle on top of my refrigerator, which tends to be a warm, out-of-the-way spot in my kitchen.
4. Refrigerate.
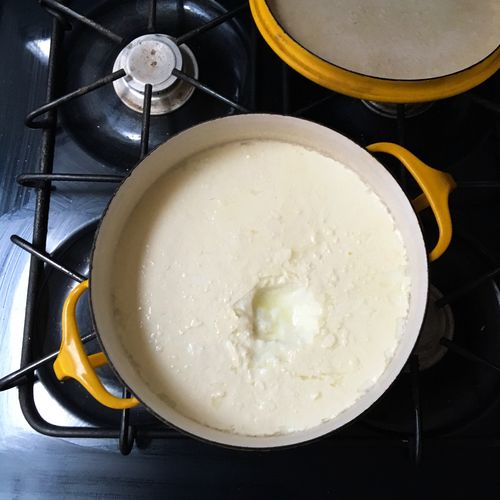
While your yogurt rests, get the vessels you’re planning on storing the yogurt in very clean by washing in hot, soapy water or running through the dishwasher.After your yogurt has sat for your desired number of hours, it will have set up: Unbundle the pot, remove the lid, and take a peek. It should look firm and gelled, and, depending on the milk you used, may have a layer of cream on top (!). Scoop out a spoonful; whey will rush into the divot your spoon makes.
If you want your yogurt at this consistency (fairly loose but very creamy), you’re all done! Portion the yogurt into the clean vessels and refrigerate for at least an hour before serving.
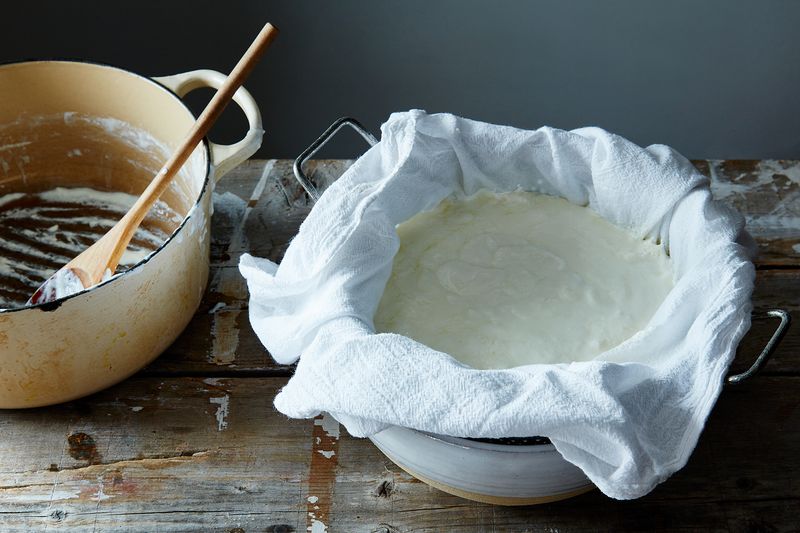
5. Strain for a thicker yogurt.
If you want a thicker yogurt, you’ll have to strain it. (Some like to add powdered milk as a way to thicken yogurt; I prefer not to add anything and to just strain it, in part because I like the whey so much and in part because I don’t want to buy something additional.)Line a colander with a very, very clean dishtowel, and set that colander inside a large bowl or pot. Pour the yogurt into the lined colander, cover with plastic wrap (or a pot lid) and set the whole thing in the refrigerator. Even a couple of hours will make a big difference, but the longer you leave it straining, the thicker the yogurt will be (and the more whey you’ll have—more than 2 cups’ worth).
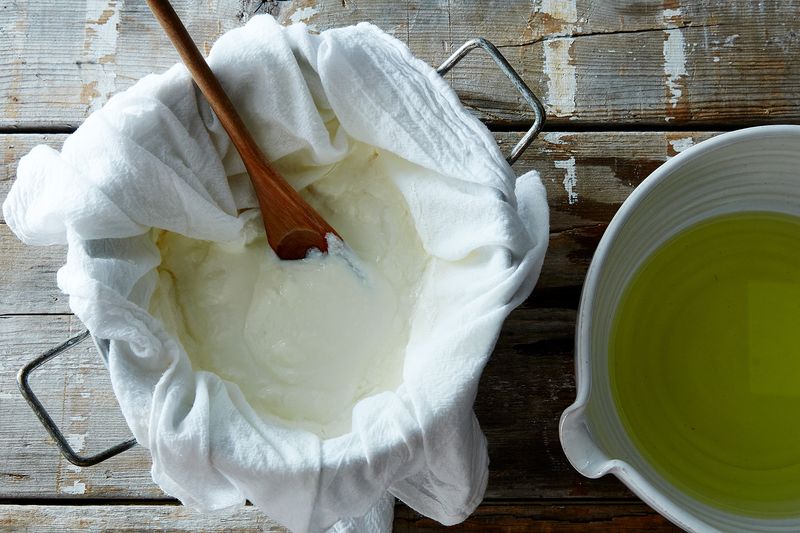
Both yogurt and whey will keep for at least a week in the refrigerator. (What to do with the whey? Drink it straight, add it to cocktails, bake bread with it, and more.)


0 comments:
Post a Comment