


I didn’t learn how to can until about 3 years ago, and until now I’ve just used a water bath canner. (One of my favorite garage sale finds ever– only $1!)
However, since I’ve become pretty comfortable with the concept of water bath canning, I felt ready to move on to the next step… Pressure canning!
To be honest, I had never even seen a pressure canner in person until mine arrived in the mail from Pantry Paratus. But, I have heard lots of people act nervous about them, since everyone seems to have heard a story about their great-aunt’s neighbor’s friend having one explode.
I been using mine ever since it arrived and I’ve been having a ball, with a grand total of zero explosions.
So, for those of you who are still a little squeamish over the idea of using a pressure canner, we’ll explore the whole process in a mini-series here on The Prairie Homestead over the next few weeks.
(If you are new to any sort of canning at all, then you’ll definitely want to check out the How to Can tutorial- complete with tons of pictures.)
Why Bother with a Pressure Canner?
Water bath canning or boiling-water processing works great for high-acid foods like most fruits, jams, tomatoes, or pickles. The theory is that the acid helps to preserve the foods and prevent spoilage at the lower temps produced by the boiling water.However, for low-acid foods (think beets, green beans, meats, potatoes), it is recommended that you use a pressure canner, since it reaches much higher temperatures and therefore preserves the food safely without the added “insurance” of the acid.
The 2 Reasons Why I Wanted a Pressure Canner:
1. Freezer space.I usually freeze a lot of my garden produce, as well as many make-ahead meal componets. Combine that with our home-raised beef, I’m always running out of freezer space– even with my extra chest freezer.
I also prefer have a food supply that isn’t dependent on the grid– in the case of an emergency power outage, most of my frozen food would be a loss.
2. The option of homemade “convenience” foods.
Since starting my journey into real food, I quit buying things like canned beans (BPA in the cans) and canned soups/broth (MSG and other preservatives).
The thought of being able to have ready-to-go, wholesome food at my disposal that doesn’t require defrosting or freezer space sounds heavenly to me.
With my pressure canner, I can preserve meats, beans, and broth to be stored at room temperature– not to mention pre-made suppers like stew and chili.
The Two Kinds of Pressure Canners
There are two main kinds of pressure canners that you will come across when you start shopping:1. Dial Gauge Canners
 (This Presto canner is a dial gauge canner. Notice the single gauge on top)
 2. Weighted Gauge Canners
 (An All-American weighted gauge canner)
  (Close up of the weighted gauge. Notice the 3 settings of pressure: 5, 10, and 15 pounds)
 Why I Chose an All-American
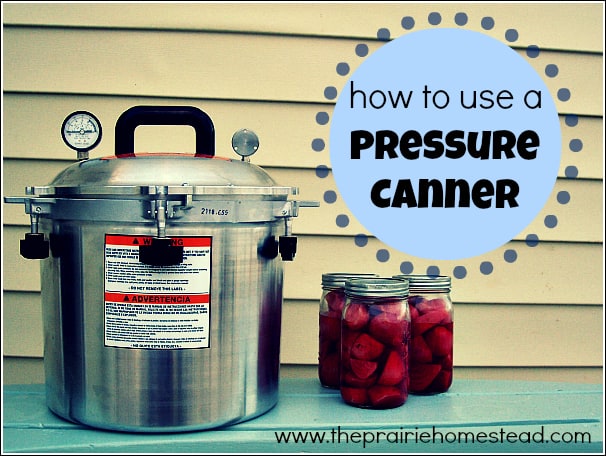
After much deliberation (and asking all the brilliant people on The Prairie Homestead Facebook page), I went with the All-American 21 1/2 quart Canner (Model 921).
Here’s why:
- After reading many user reviews of the All-American canner on Amazon, I found that there were very few unsatisfied customers. This trend stayed the same with my followers on Facebook, as well as anyone else I talked to.
- The All-American canner has no rubber gasket– that means there is one less thing to maintain and replace.
- All-American canners have weighted gauges– I definitely prefer that over the dial gauge, since I won’t have to take it to be checked every single year.
- They are made in the USA.
- They have 6 bolts to securely hold the lid.
- Although this is not the cheapest pressure canner on the market, I don’t mind paying a little extra for something I know that will last for years and years. As some of my readers mentioned, this is something you could definitely pass down to your children and grandchildren. It’s a quality piece of equipment.
- The 921 model will hold 19 pints or 7 quarts. This isn’t their biggest model, but 7 quarts is what my water bath canner holds, and I’m comfortable with that size.
http://www.theprairiehomestead.com/2012/08/how-to-use-a-pressure-canner-part-1.html
Click HERE for Part 2.


0 comments:
Post a Comment