Now that you have your site picked out, your materials laying in the yard, and your tools ready for action the next step is to build the box that will serve as the base for your the hoops. I chose to use two 12 foot x 2 x 10 and two 8 foot lengths... that is, all the boards are 10 inches tall. I used regular old lumber off the rack at the home improvement place. I looked at the 12 inch tall boards but they were exponentially more expensive... which is way I went for the 10 inch ones. I wanted some additional height for the hoop which is why I didn't go any shorter (2 x 4's or 2 x 6's).
Level it.
When I started laying the boards out I realized that my "somewhat level site" was actually really off kilter. So I got the shovel and started digging. I dug a little trench deep enough to get the long side boards level with the lowest spot. But it was still really off so I also had to prop up the lowest of the low sides just a little to make sure everything was level.
The dog thought it was amazing. But check out how much space under the board near his feet.
Unfortunately "level" meant that there was a lot of daylight under the bottom of one side. Clearly I needed gravel to make sure that the box base was resting solidly. I had two choices...I could go in the house and sulk because someone had my truck and I couldn't get to town. Or I could keep working. I kept working.
Theoretically if I really wanted to do it "right" I would have dug a base, filled it with gravel, and then built the box base. But you know how I am. So I just kept working on what I was doing because there are a lot of ways to do something "right."
I used garden markers and tposts to help me hold everything in place.
Building the box was just a matter of affixing the ends of the boards together so that they were level and square. Because I was working by myself I used some tposts and garden markers to hold the boards in place. They were heavy and a little unwieldy but it worked. As always I screw everything together because the possibility that I will rip all of my projects apart at some point is exceedingly high. I think I used 3 inch screws.
I checked and rechecked that everything was level and square. Why? Because I'm obsessed with level and also when you do building projects like this they will be easier to build and more sturdy if they are squared up. So it's worth it to be a little particular about this step.
Laying the panels out in place over the box.
Next I had to lay the hoops out over the completed box. The 16 foot panels are heavy and kind of hard to move around. But I got them to the work site and laid out over the box. I was glad for all that squaring up because the three panels laid out perfectly. I made sure that I lined up the outside edge of the panels with the sides of the box. Two of the panels are over lapped just a little but it was equal to one of the panel holes! Easy peasy.
I could have cut the panel to fit but I just over lapped a little. Totally worked.
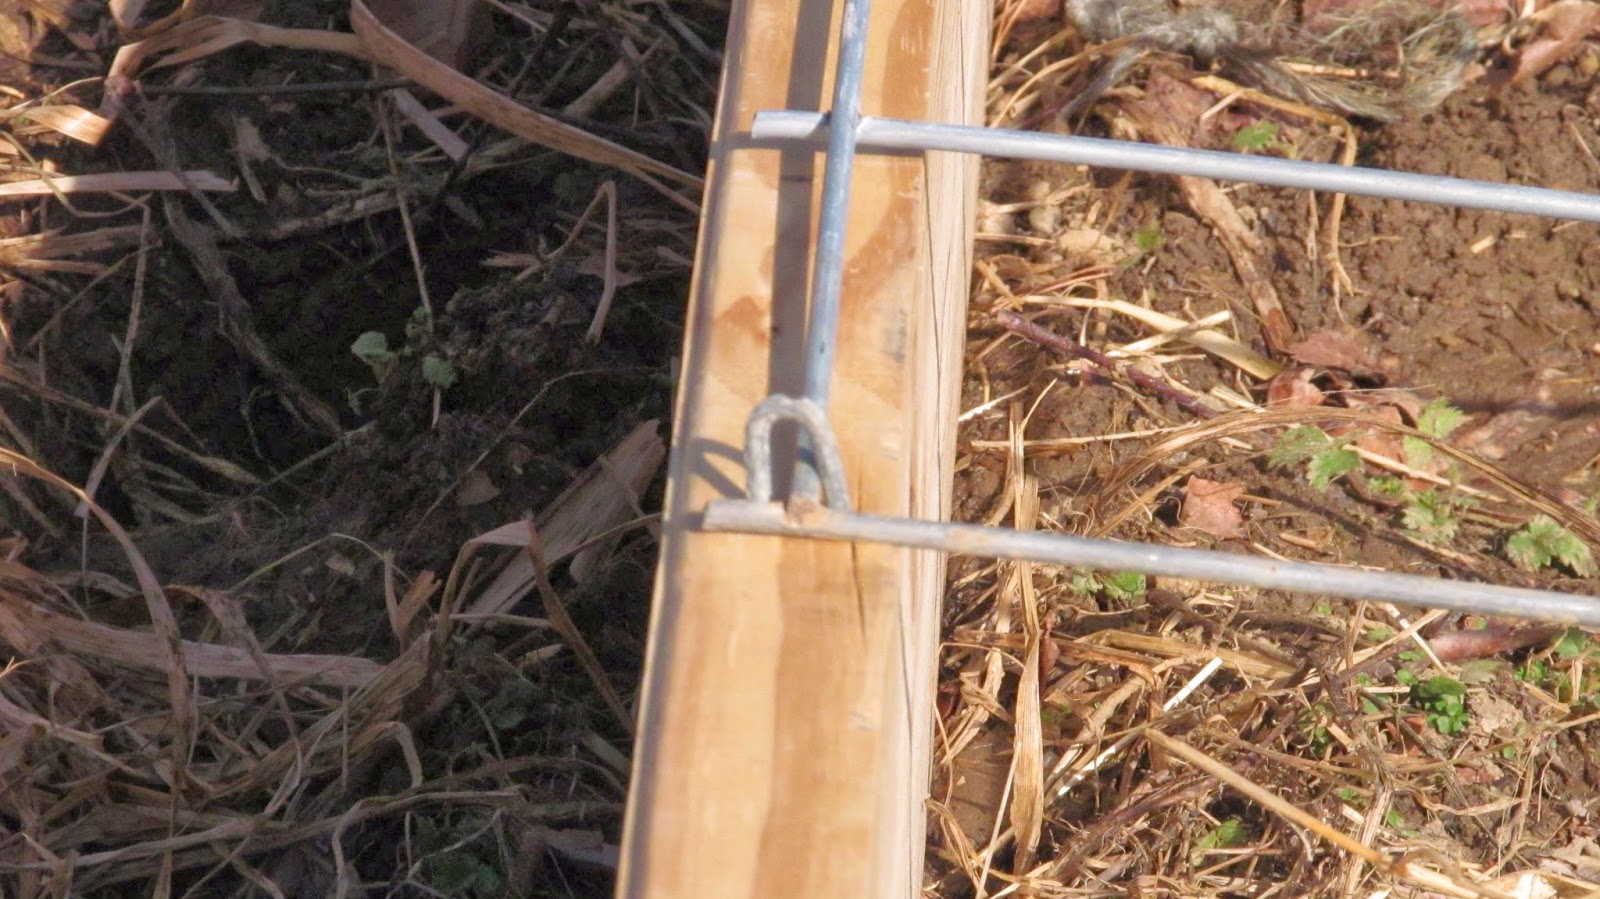
Then came the most fun part. Hoopin' it up. Using fence staples I loosely affixed the first panel to one side of the box, that is, I did not pound the staples in all the way - just enough to hold it. Then I went to the other end of the panel, picked it up, and slowly walked toward the attached side. Low and behold... it hooped...I whooped...and the dog looked at me like I was amazing.
Staples loosely holding one end in place.
Then came kind of a wrestling match where I had to hold a tension-filled hoop in place, grab the hammer, and reach Twister-like for the just-out-of-reach staples so I could hammer the staples in place. I wished I would have had all of my tools at my feet and the staples in my pocket. I'm not lyin' this took some maneuvering. But I just took my time and it worked.
Once the hoop was mostly secure to the second side I went around and pounded the rest of the staples all the way into the tops of the box. How fun is that?
Securing the other two hoops went exactly the same way - loosely attach one side, slowly walk the other end toward the box, pound the staples on that side into place, and then finish pounding the first side.
HOOP there it is! HOOP there it... hey.... it's all wonky! Drat.
I was thrilled with my progress until I stood back and saw that my hoops were kind of cattywampus. Then I was a little sad because I thought it would be a little better than that. But then I was all, 'hey I'll just fix it in the mix later' - and that is exactly what will happen in the next installment called, Step Three - Frame it up.
Happy Monday everyone! Did you hoop it up? Do you think you can do this? Sure you can!
http://adventuresinthegoodland.blogspot.com/2014/03/build-hoop-house-step-two-level-your.html


0 comments:
Post a Comment